

How to install a water outlet pipe in a stainless steel water tank?
Jan 19, 2026
Installing a water outlet pipe in a stainless steel water tank is a crucial task that requires careful planning and execution. As a reputable supplier of Stainless Steel Water Tanks, I understand the importance of this process and am here to guide you through it step by step.
Understanding the Basics
Before you begin the installation process, it's essential to have a clear understanding of the components involved. A stainless steel water tank is a durable and corrosion - resistant container designed to store water. The water outlet pipe is responsible for allowing water to flow out of the tank when needed.
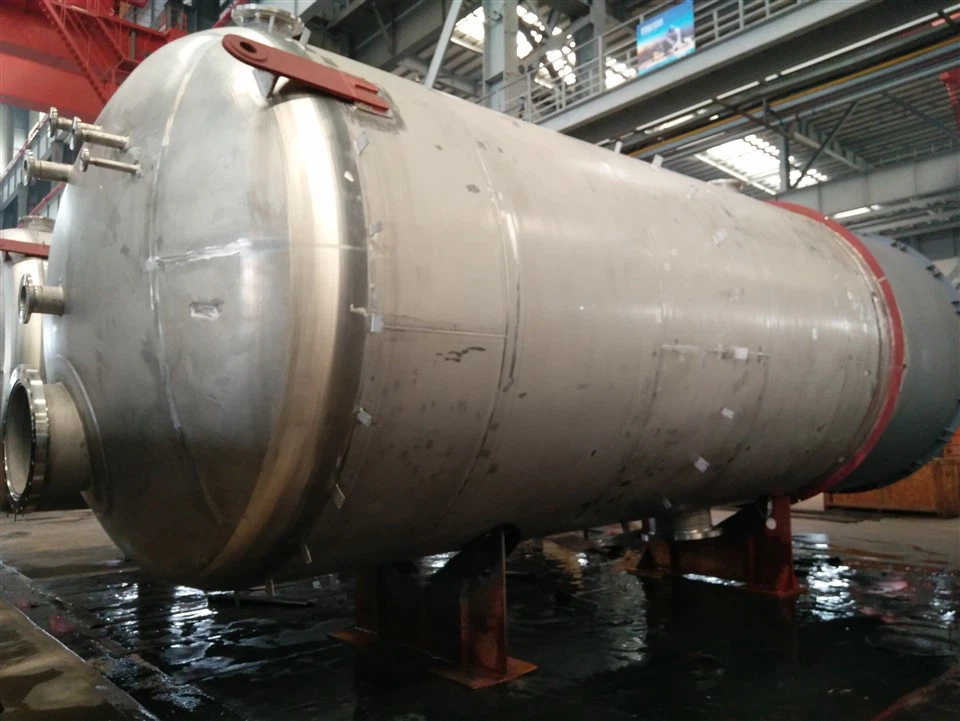
There are two main types of stainless steel water tanks: Horizontal Stainless Steel Storage Tank and Vertical Stainless Steel Storage Tank. The installation process may vary slightly depending on the type of tank you have.
Tools and Materials Required
To install a water outlet pipe in a stainless steel water tank, you will need the following tools and materials:
- Tools:
- Drill with appropriate drill bits for stainless steel
- Wrench set
- Tape measure
- Marker
- Pipe cutter
- Deburring tool
- Teflon tape
- Welding equipment (if required)
- Materials:
- Stainless steel water outlet pipe of the appropriate size
- Pipe fittings (elbows, couplings, etc.)
- Gaskets
- Sealant
Step - by - Step Installation Process
Step 1: Planning and Measurement
- First, determine the location where you want to install the water outlet pipe. This location should be at a convenient height for accessing the water and should also be away from any potential sources of contamination.
- Use a tape measure to mark the exact spot on the tank where the hole will be drilled. Make sure to measure accurately to ensure a proper fit for the pipe.
Step 2: Drilling the Hole
- Select the appropriate drill bit for stainless steel. It's important to use a high - quality drill bit to prevent damage to the tank.
- Drill the hole at the marked location. Start with a small pilot hole and gradually increase the size to the diameter of the water outlet pipe.
- After drilling, use a deburring tool to remove any sharp edges or burrs from the hole. This will prevent damage to the pipe and ensure a tight seal.
Step 3: Preparing the Pipe
- Measure and cut the stainless steel water outlet pipe to the desired length using a pipe cutter. Make sure the cut is clean and straight.
- Deburr the cut ends of the pipe to remove any rough edges.
Step 4: Installing the Pipe Fittings
- Apply Teflon tape to the threaded ends of the pipe fittings. This will help create a watertight seal.
- Connect the pipe fittings to the water outlet pipe according to your plumbing layout. Use a wrench to tighten the fittings securely, but be careful not to overtighten, as this can damage the threads.
Step 5: Inserting the Pipe into the Tank
- Carefully insert the prepared water outlet pipe into the hole in the tank. Make sure the pipe is inserted straight and fully seated.
- Place a gasket around the pipe where it enters the tank. This will help prevent leaks.
Step 6: Sealing the Connection
- Apply a suitable sealant around the pipe where it meets the tank. This will provide an additional layer of protection against leaks.
- If required, use welding equipment to weld the pipe to the tank for a more permanent and secure connection. However, welding should only be done by a qualified professional.
Step 7: Testing the Installation
- Once the installation is complete, fill the tank with water and check for any leaks. Inspect the connections between the pipe and the tank, as well as the pipe fittings.
- If you notice any leaks, tighten the fittings or re - apply the sealant as needed.
Troubleshooting
- Leaking Connections: If you find that the connections are leaking, first check if the fittings are tightened properly. If they are, you may need to replace the gaskets or re - apply the sealant.
- Blockages: If water flow is restricted, there may be a blockage in the pipe. Use a pipe cleaner or a small brush to remove any debris.
Maintenance Tips
- Regularly inspect the water outlet pipe and its connections for signs of wear or damage.
- Clean the pipe periodically to prevent the buildup of sediment or other contaminants.
- Check the sealant and gaskets for deterioration and replace them as needed.
Conclusion
Installing a water outlet pipe in a stainless steel water tank is a manageable task if you follow the proper steps and use the right tools and materials. As a Stainless Steel Water Tank supplier, we are committed to providing high - quality products and helpful guidance to our customers.
If you are in the market for a stainless steel water tank or need further assistance with the installation process, we encourage you to reach out to us. Our team of experts is ready to answer your questions and help you make the best choice for your water storage needs. Contact us today to start the procurement discussion and find the perfect solution for your project.

References
- "Stainless Steel Piping Handbook" by The Nickel Institute
- "Plumbing Installation Guide" by the American Society of Plumbing Engineers