

How to connect multiple stainless steel water tanks together?
Nov 12, 2025
Connecting multiple stainless steel water tanks together is a practical solution for increasing water storage capacity. As a reputable Stainless Steel Water Tank supplier, I've encountered numerous customers seeking guidance on this process. In this blog, I'll share comprehensive insights on how to connect multiple stainless steel water tanks effectively, ensuring a seamless and efficient water storage system.
Understanding the Basics of Stainless Steel Water Tanks
Before delving into the connection process, it's essential to understand the different types of stainless steel water tanks available. We offer two primary types: Horizontal Stainless Steel Storage Tank and Vertical Stainless Steel Storage Tank. Horizontal tanks are ideal for applications with limited vertical space, while vertical tanks are suitable for maximizing storage capacity in a smaller footprint.
Stainless steel is the material of choice for water tanks due to its durability, corrosion resistance, and hygienic properties. It can withstand harsh environmental conditions and maintain water quality over an extended period. Whether you're using these tanks for residential, commercial, or industrial purposes, they offer a reliable and long-lasting solution.
Planning Your Tank Connection
The first step in connecting multiple stainless steel water tanks is to plan your system carefully. Consider the following factors:
1. Water Demand
Determine your water usage requirements to calculate the total storage capacity needed. This will help you decide how many tanks to connect and their appropriate sizes. For example, if you have a large agricultural operation, you may need to connect several large tanks to meet your irrigation needs.
2. Space Availability
Assess the available space for installing the tanks. Ensure there is enough room for the tanks, as well as for maintenance and access. Consider the layout of the tanks and how they will be connected to avoid any obstructions.
3. Water Source
Identify the source of water for your tanks, such as a well, municipal supply, or rainwater harvesting system. The water source will influence the design of your connection system and the type of fittings required.
4. Budget
Set a budget for your tank connection project. This will help you choose the right materials and fittings within your financial constraints. Keep in mind that investing in high-quality materials and professional installation can save you money in the long run by reducing maintenance and replacement costs.
Selecting the Right Fittings and Materials
Once you have a clear plan, it's time to select the appropriate fittings and materials for connecting your tanks. Here are some essential components:
1. Connectors
Use high-quality stainless steel connectors to join the tanks together. These connectors should be compatible with the tank's size and shape and provide a secure and leak-free connection. There are different types of connectors available, such as flange connectors, threaded connectors, and compression connectors.
2. Pipes
Choose stainless steel pipes that are suitable for water storage and distribution. The pipes should have the appropriate diameter to ensure adequate water flow between the tanks. Consider using pipes with smooth interiors to minimize friction and prevent clogging.
3. Valves
Install valves at strategic points in the connection system to control the flow of water. Ball valves are commonly used for their ease of operation and reliability. You may also need check valves to prevent backflow and ensure water flows in the desired direction.
4. Gaskets
Use gaskets made of food-grade rubber or silicone to create a watertight seal between the connectors and the tanks. These gaskets should be resistant to water, chemicals, and UV radiation to ensure long-term performance.
Connecting the Tanks
Once you have all the necessary materials, you can start connecting the tanks. Follow these steps:

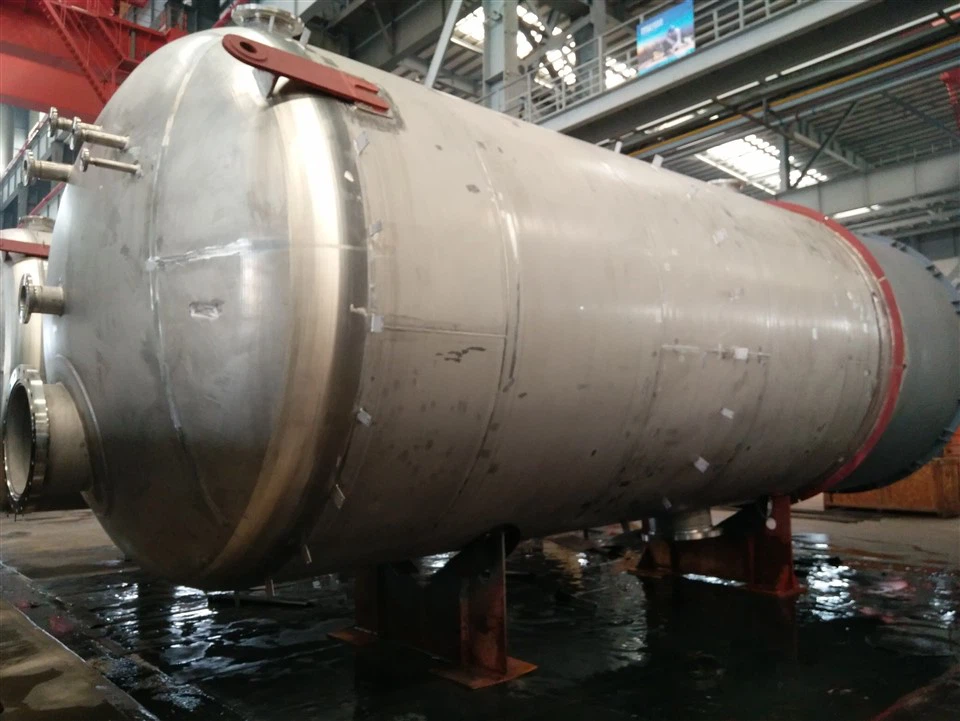
1. Position the Tanks
Place the tanks in their intended locations, ensuring they are level and stable. Use a spirit level to check the alignment of the tanks and make any necessary adjustments.
2. Mark the Connection Points
Mark the locations on the tanks where the connectors will be installed. Use a measuring tape and a marker to ensure accurate placement.
3. Drill Holes
Drill holes in the tanks at the marked locations using a drill bit suitable for stainless steel. Be careful not to damage the tank's interior during the drilling process.
4. Install the Connectors
Insert the connectors into the drilled holes and secure them using the appropriate bolts or nuts. Apply a thin layer of sealant to the gaskets before installing them to ensure a tight seal.
5. Connect the Pipes
Connect the pipes between the tanks using the selected fittings. Make sure the pipes are properly aligned and tightened to prevent leaks.
6. Install Valves
Install the valves at the appropriate points in the connection system. Test the valves to ensure they are functioning correctly and can control the flow of water effectively.
7. Pressure Test
Once the tanks are connected, conduct a pressure test to check for leaks. Fill the tanks with water and pressurize the system to the recommended level. Inspect all the connections and fittings for any signs of leakage. If any leaks are detected, tighten the fittings or replace the gaskets as necessary.
Maintenance and Monitoring
After connecting your stainless steel water tanks, it's important to perform regular maintenance and monitoring to ensure their optimal performance. Here are some tips:
1. Inspect the Tanks
Regularly inspect the tanks for any signs of damage, such as cracks, dents, or corrosion. Check the fittings and connections for leaks and tighten them if necessary.
2. Clean the Tanks
Clean the tanks periodically to remove any sediment, debris, or algae that may accumulate over time. Use a mild detergent and a soft brush to clean the interior of the tanks. Rinse the tanks thoroughly with clean water to ensure there is no residue left behind.
3. Check the Water Quality
Monitor the water quality in the tanks regularly to ensure it meets the required standards. Test the water for pH, chlorine levels, and other contaminants. If the water quality is poor, take appropriate measures to treat it, such as adding disinfectants or filters.
4. Maintain the Valves and Fittings
Lubricate the valves and fittings regularly to ensure smooth operation. Replace any worn-out or damaged parts as soon as possible to prevent leaks and other issues.
Conclusion
Connecting multiple stainless steel water tanks together is a straightforward process when you follow the right steps and use the appropriate materials. By planning your system carefully, selecting the right fittings, and performing regular maintenance, you can create a reliable and efficient water storage solution.
As a Stainless Steel Water Tank supplier, we are committed to providing high-quality products and professional advice to our customers. If you have any questions or need assistance with your tank connection project, please don't hesitate to contact us. We'll be happy to help you find the best solution for your needs.
References
- "Stainless Steel Water Tanks: A Comprehensive Guide." Water Storage Solutions Magazine, 2022.
- "Installation and Maintenance of Stainless Steel Tanks." Industrial Tank Manufacturers Association, 2021.
- "Water Quality Management in Storage Tanks." Environmental Health Journal, 2020.